
Orthotics

Sometimes our bodies need extra support, protection or control to assist our muscles and bone structures to line up so we can move better. This is where NovitaTech’s orthotic clinicians can assist. Contact NovitaTech today for an orthotic consultation.
What is an orthosis?
When our muscles and bone structures require extra support so that we’re able to move about better, an externally applied device can do that job. A common example is foot orthotics that are often used in shoes for people with flat feet. You might have also heard of splints, walking boots, ankle-foot orthoses. There are lots of different types of orthotics which are made exactly to measure to suit each person’s body and needs!
How can NovitaTech’s orthotics team assist you?
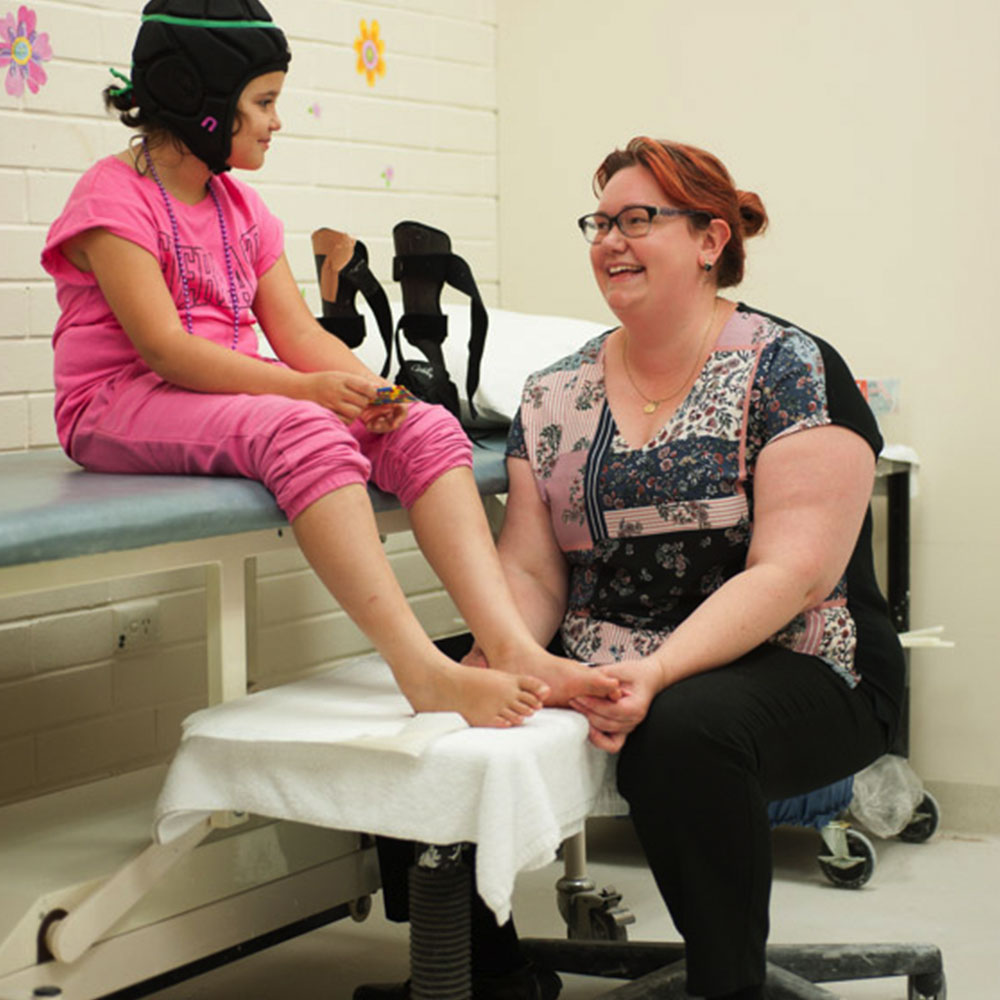
At NovitaTech we have a team of friendly, highly trained orthotists who will assess your needs to prescribe, make and fit the right type of orthotics. Our orthotists work closely with clients of all ages and with your family and physiotherapist as needed to make sure you get the best treatment.
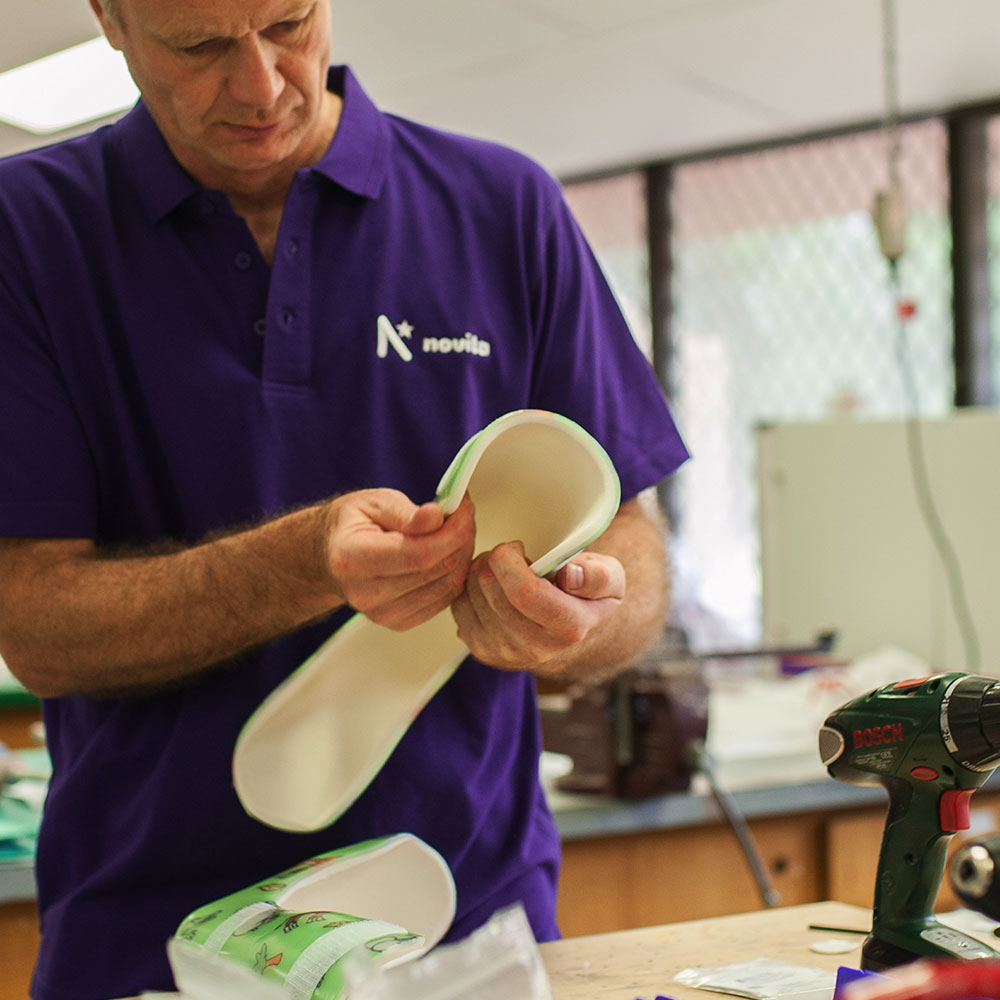
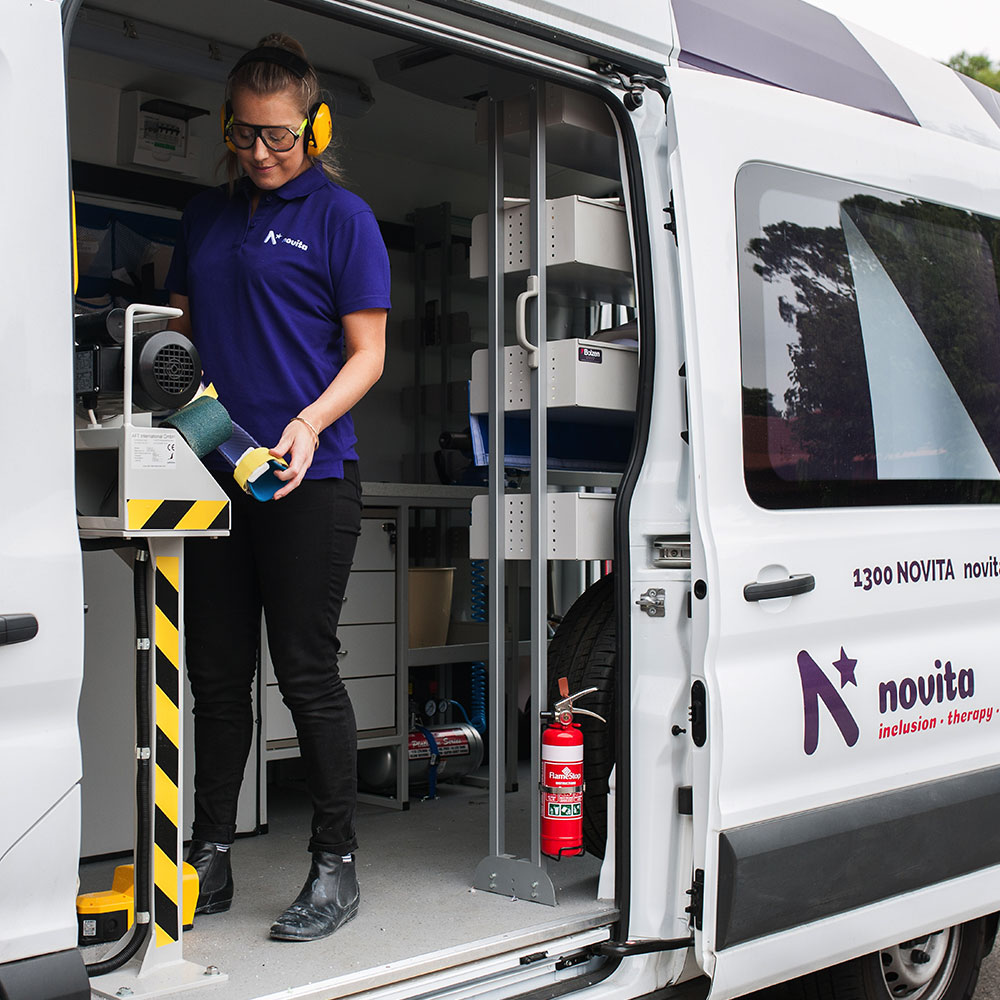
NovitaTech’s orthotists are dedicated to providing a high quality, timely service using the latest technology, with on-site rooms and fully equipped orthosis workshops at 1 South Road, Thebarton.
If you would like more information to book into a consultation, call our friendly team at NovitaTech on 1300 668 482 or visit our Contact Us page to fill out an enquiry form.
What does my first Orthotics appointment look like?
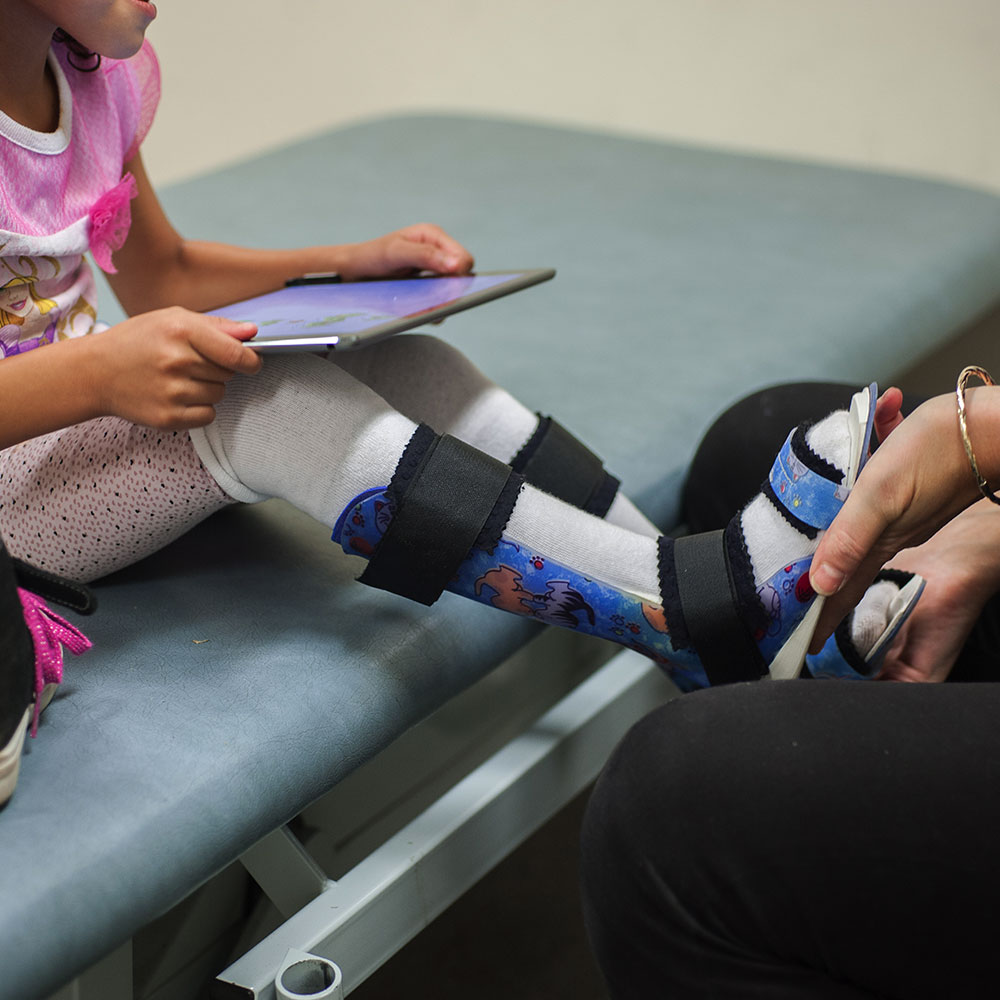
The first thing your NovitaTech orthotist will do is conduct an initial assessment to work out exactly what is needed for you or your child. From there, a fitting takes place, and then your orthoses are made.
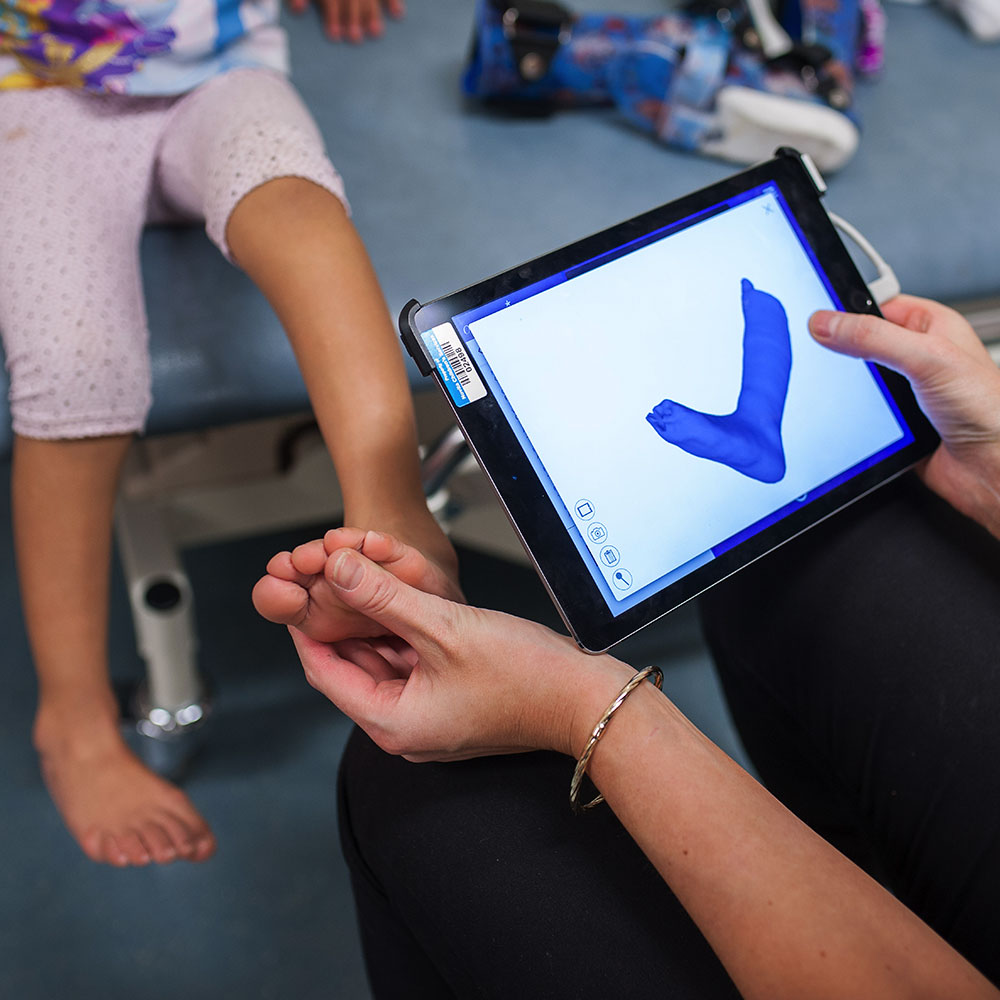
We use the latest 3D scanning technology and Computer Aided Design Software (CAD) in making your orthoses, to ensure a precise fit and fast turnaround time.
Once you or your child receives their orthoses, we make sure they fit correctly. We’ll also do follow-up visits with you to make sure they continue to fit correctly.
NovitaTech orthotists can come to you with our Orthotic Van Service, allowing you the convenience of receiving orthotic services in your nearest Novita clinic to save you travelling a long distance. The Mobile Orthotic Service also includes the latest 3D scanning technology.
When you or your child should see the NovitaTech Orthotics Team
Like so many other adults and kids, you may need to see the NovitaTech Orthotics Team for any of the following reasons:
- disability management
- specialised paediatric disability management
- post-surgery rehabilitation
- sports injury management
- osteo/rheumatoid arthritis
- foot pain
- swelling control
- spinal irregularity
How do you get in touch with a NovitaTech Orthotist?
If you’d like to know more, or would like to make an appointment please call and ask for NovitaTech on 1300 668 482. You can also email us at [email protected] or fill out an online enquiry form.
Step-by-step guide to putting on your Orthotics
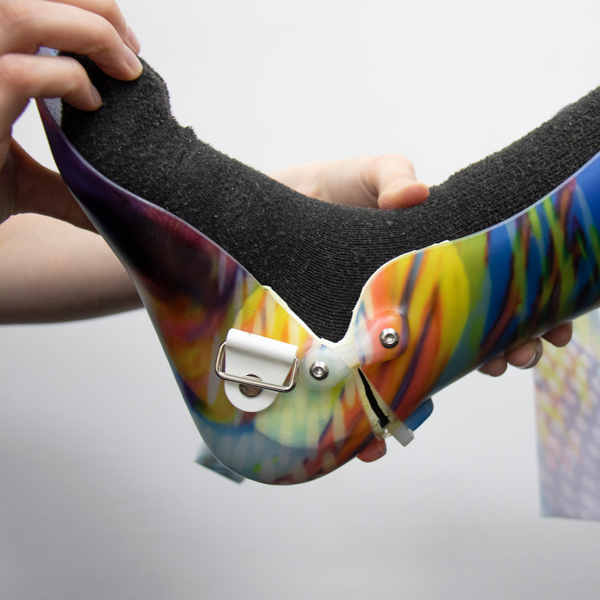
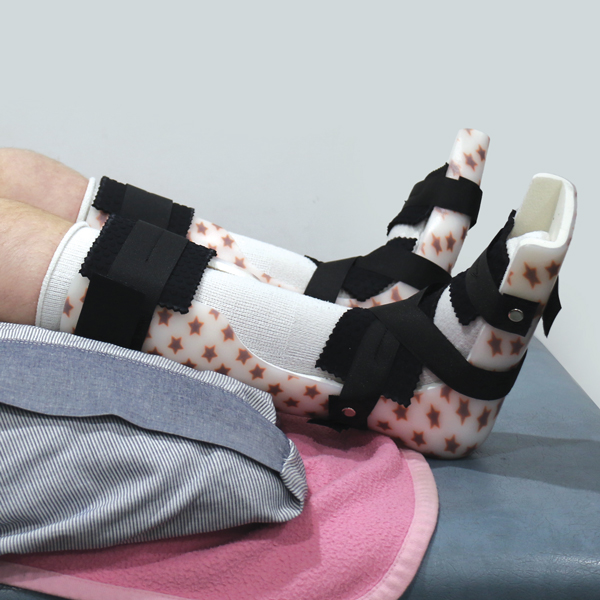
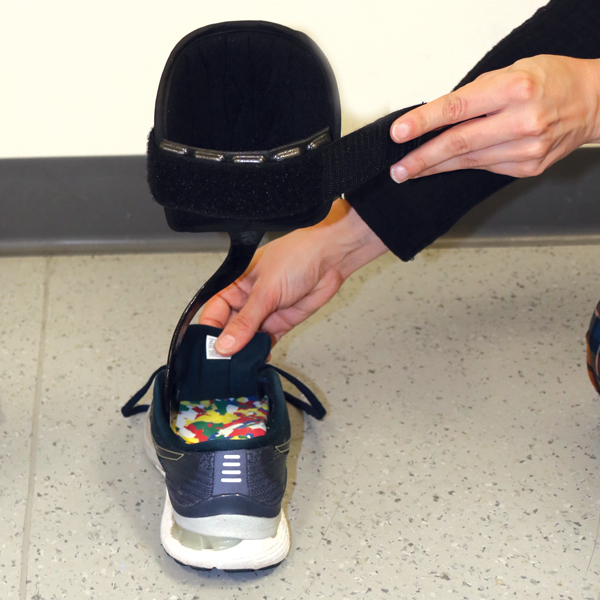
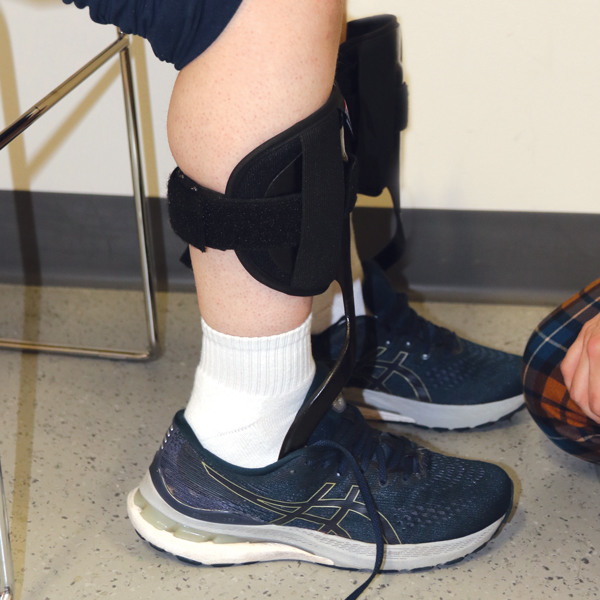
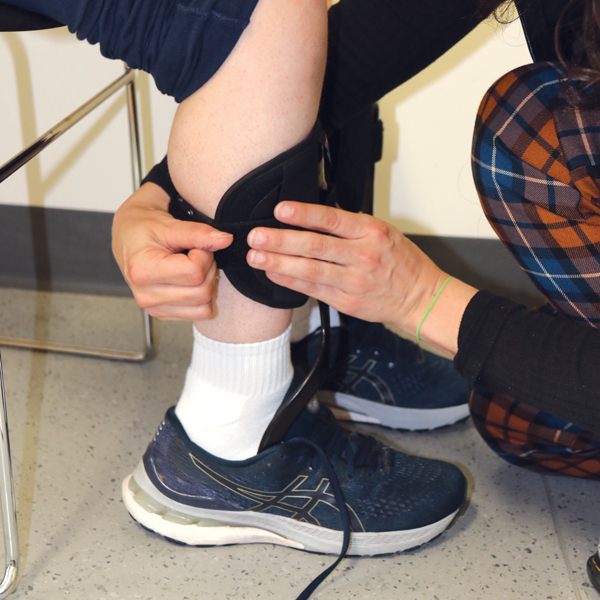
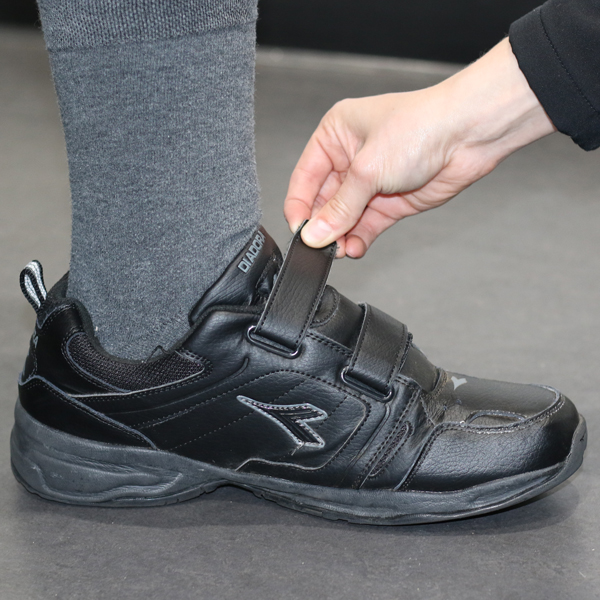
Solid Ankle Foot Orthotic or Hinged Ankle Foot Orthotic
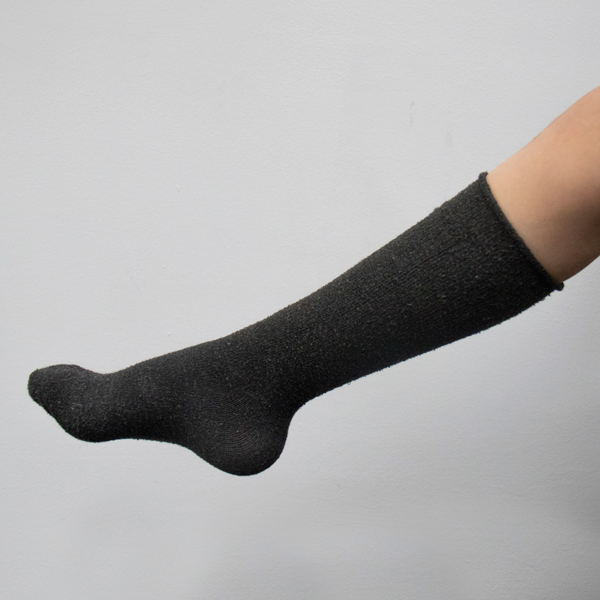
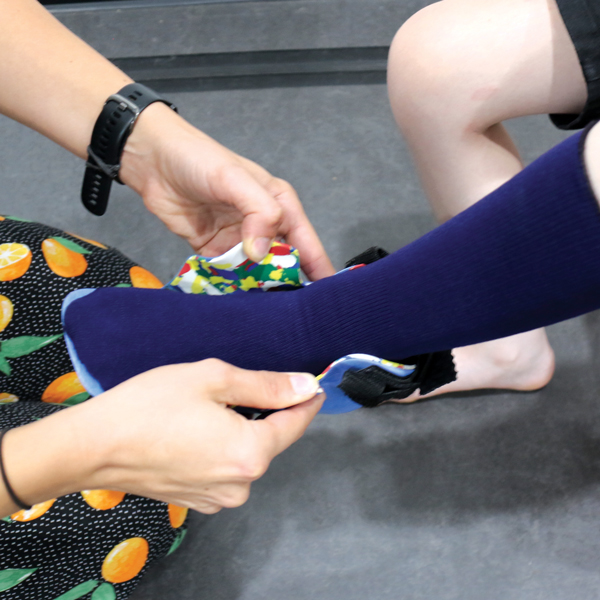
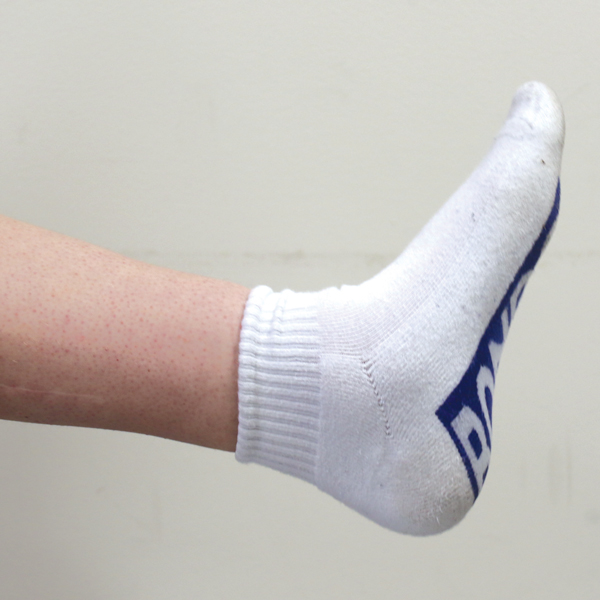
STEP 1: Wear long socks- smooth out any wrinkles.
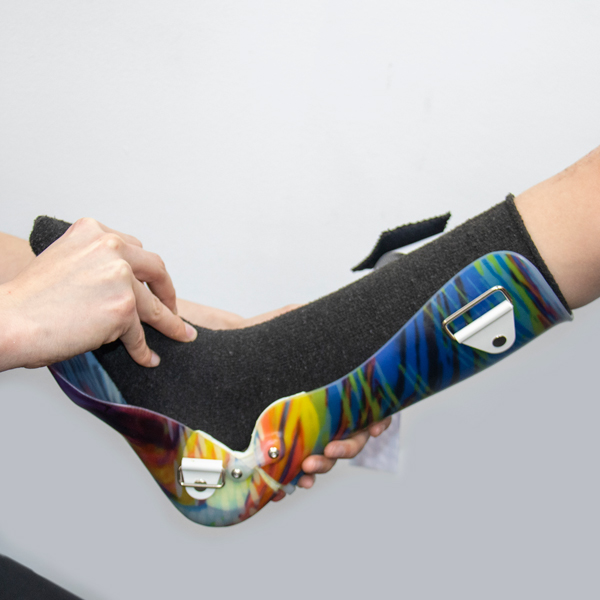
Step 2: Hold foot with toes pointing up in the air and slide into brace aiming the heel towards the heel section in the AFO.
Step 3: Make sure heel is all the way back.
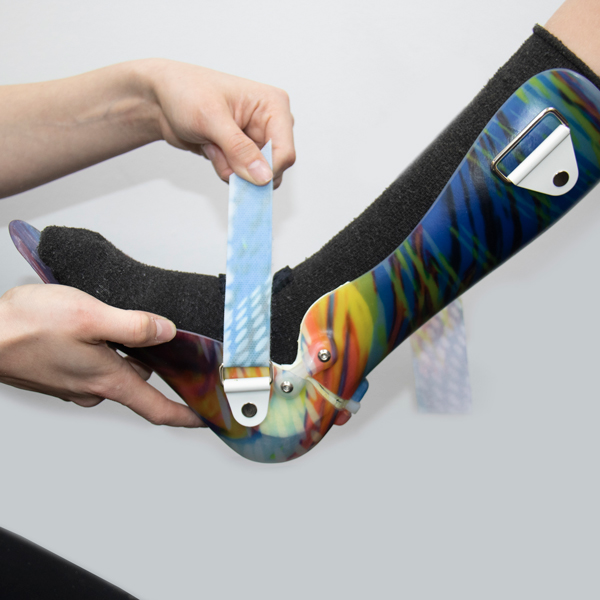
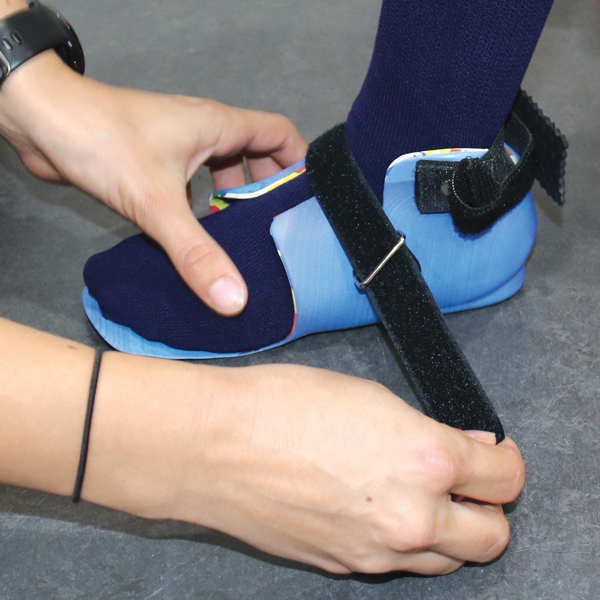
Step 4: Fasten ankle strap first to help lock the heel in place.
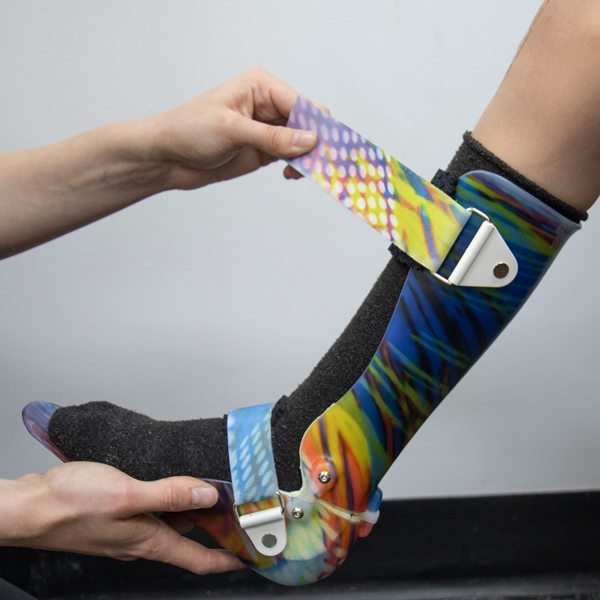
Step 5: Fasten calf strap next and then any other straps.
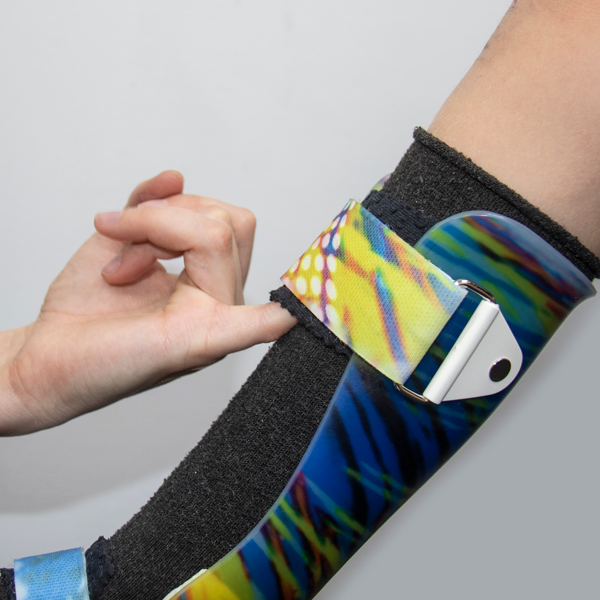
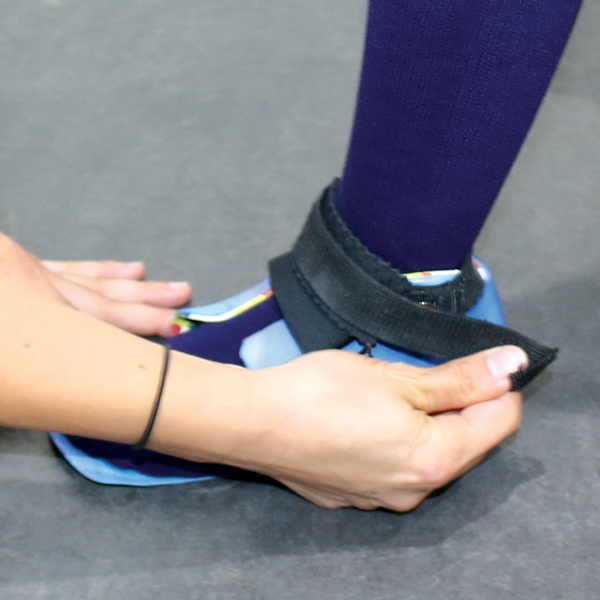
Step 6: Make sure there’s room to wriggle your little finger under straps.
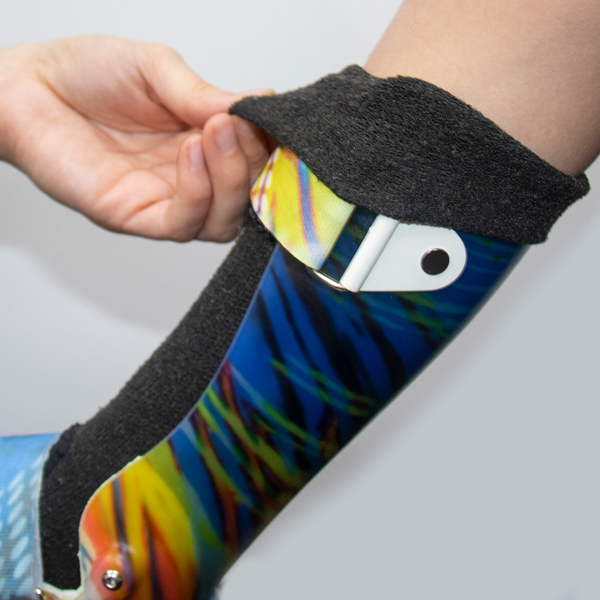
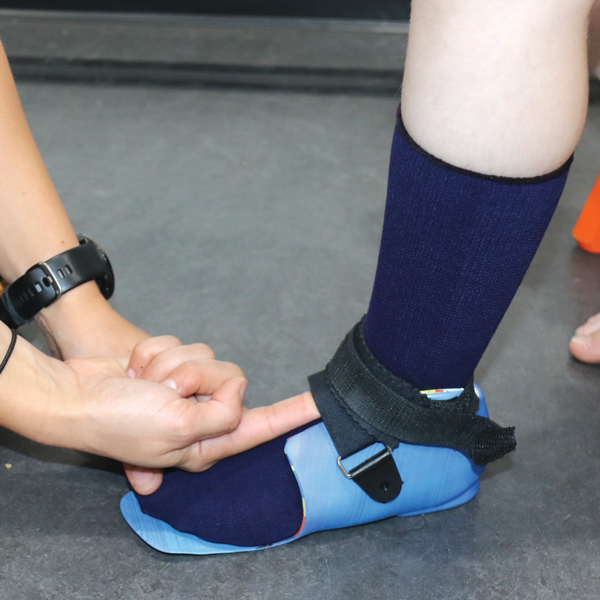
Step 7: Fold socks down over the top strap for extra comfort and to stop socks from sliding down.
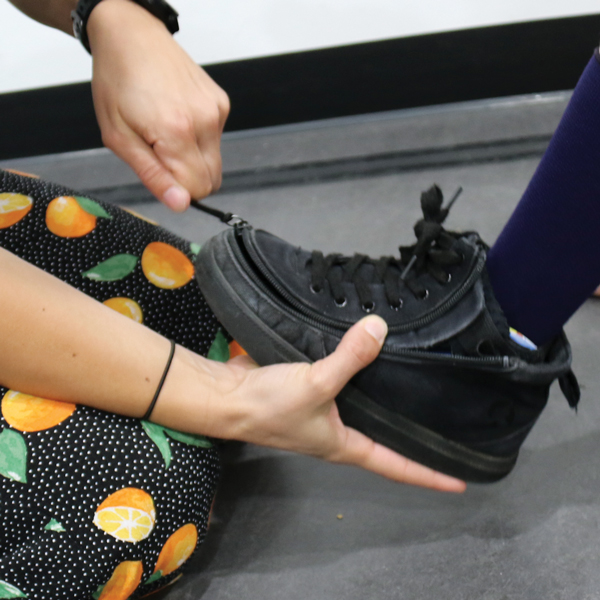
Step 8: Wriggle shoe over the AFO and fasten firmly to keep AFO in place.
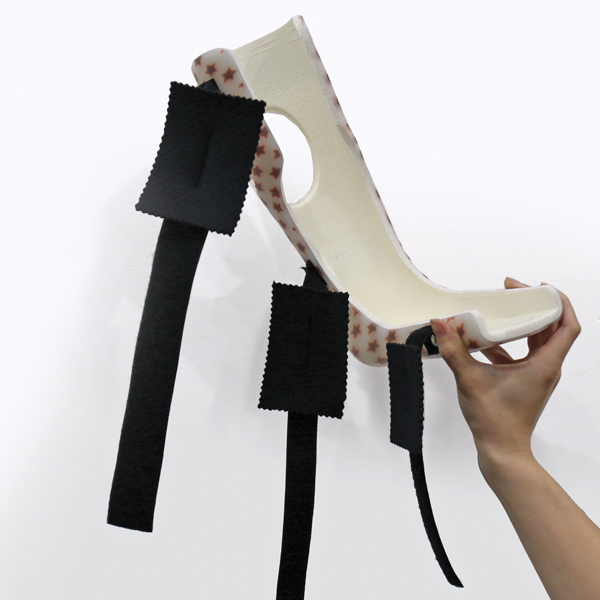
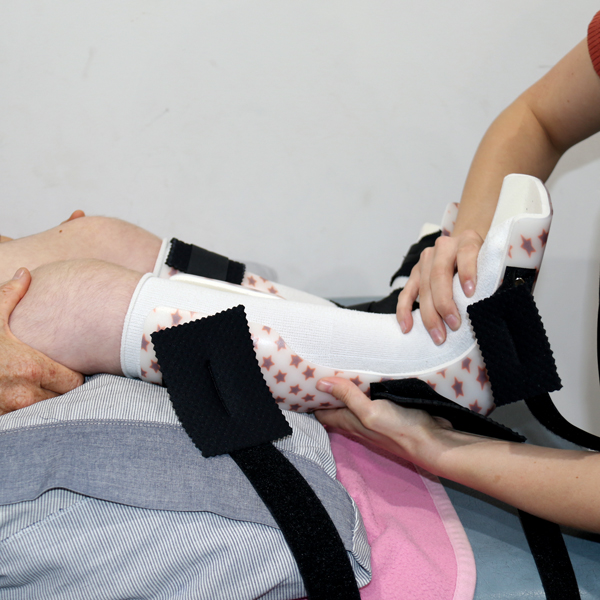
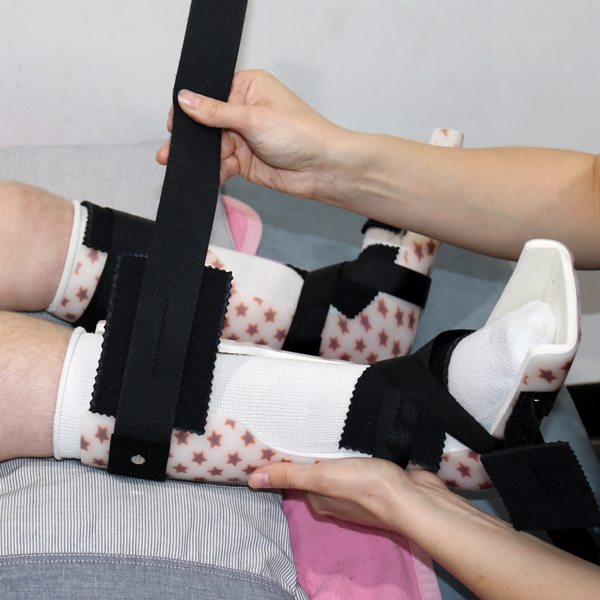
Custom Resting AFO
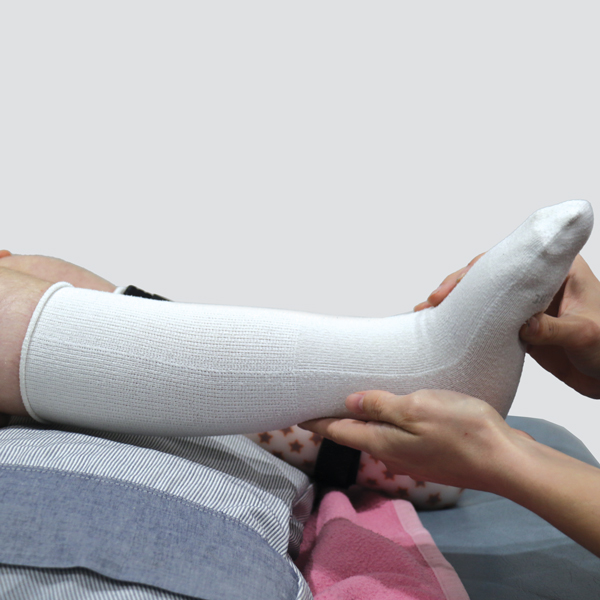
Step 1: Wear a long cotton sock- check for no wrinkles.
Step2: Undo all straps on the night splint.
Step3: Slide foot in and make sure heel is at the back.
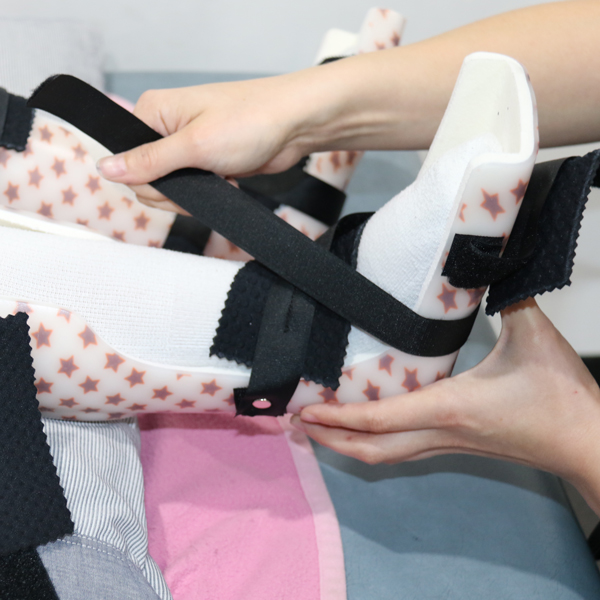
Step 4: Do up ankle strap- it is a figure 8. It goes across the ankle, under the foot and attaches on the other side of the ankle to where you started.
Step 5: Do up calf and foot straps.
Step 6: If you have knee braces as well, undo all the straps on them.
Step 7: Keep your leg straight (easiest on a couch or bed).
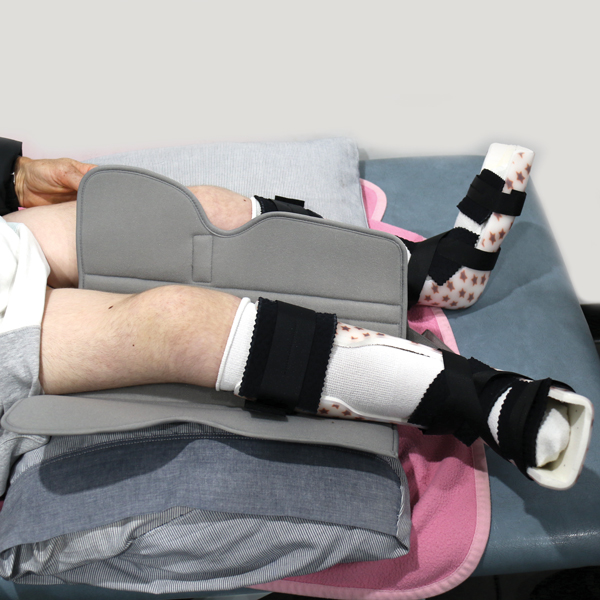
Step 8: Lay it flat underneath your knee. Widest part of the brace should be under your thigh.
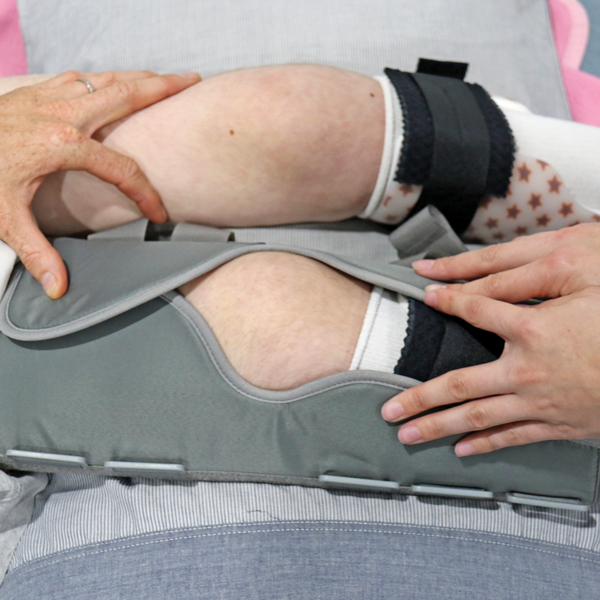
Step 9: Wrap the brace over your leg, making sure knee is visible in the knee hole.
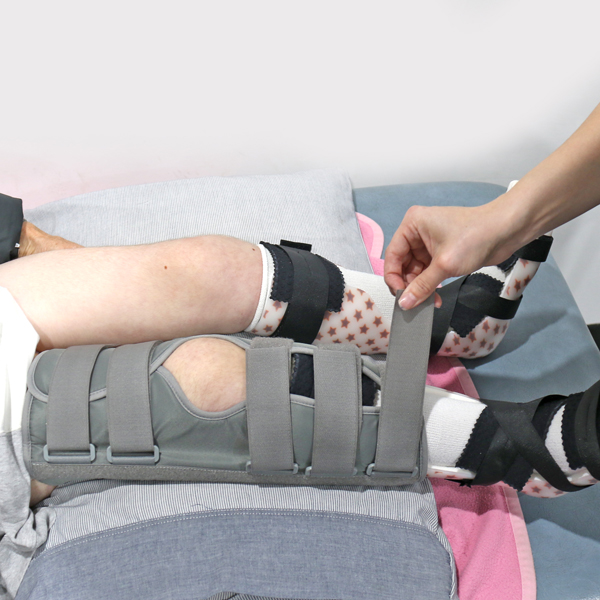
Step 10: Do all straps up firmly so that knee remains flat.
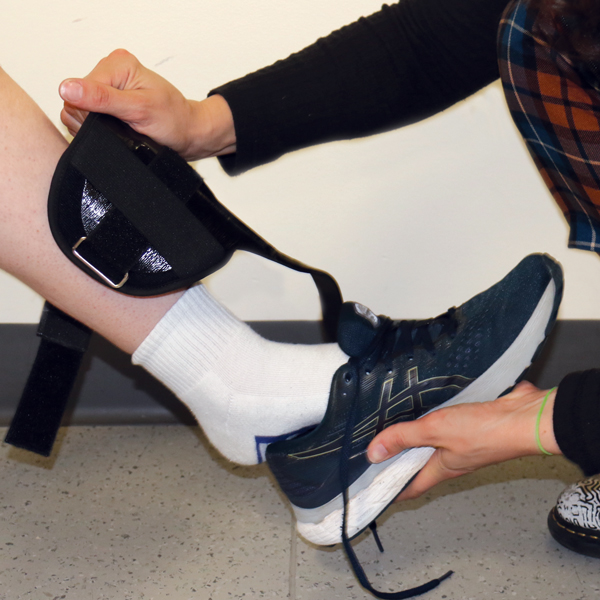
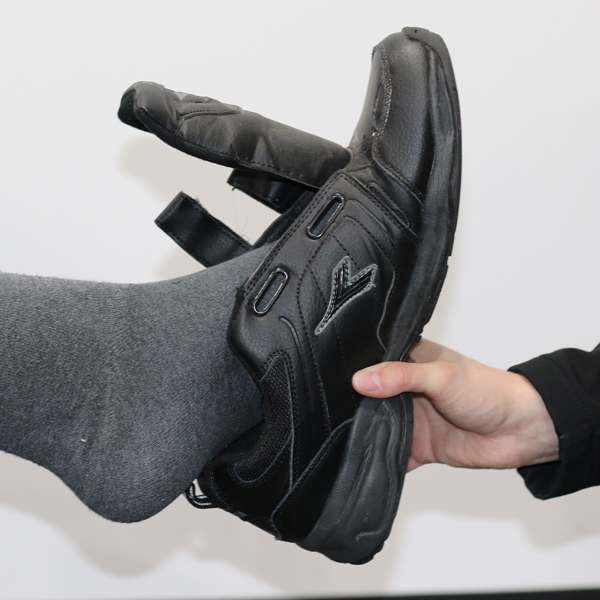
SMAFO
Step 1: Wear ankle-high or longer socks - check for no wrinkles.

Step 2: Open the orthotic carefully at the wings.
Step 3: Slide the foot down into the brace. Make sure heel is all the way back.
Step 4: Do up the instep strap (the one with the buckle) first.
Step 5: Do up any other straps such as ankle and forefoot straps.
Step 6: Make sure there’s room to wiggle your little finger under straps.
Step 7: Wiggle shoe on and fasten firmly to keep AFO in place.
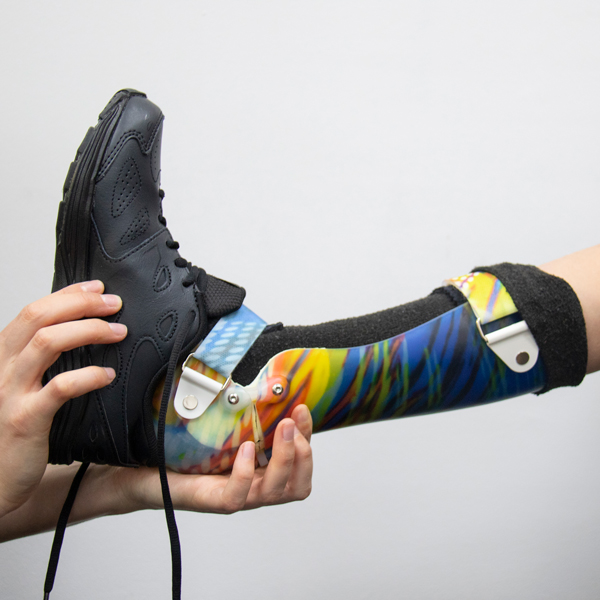
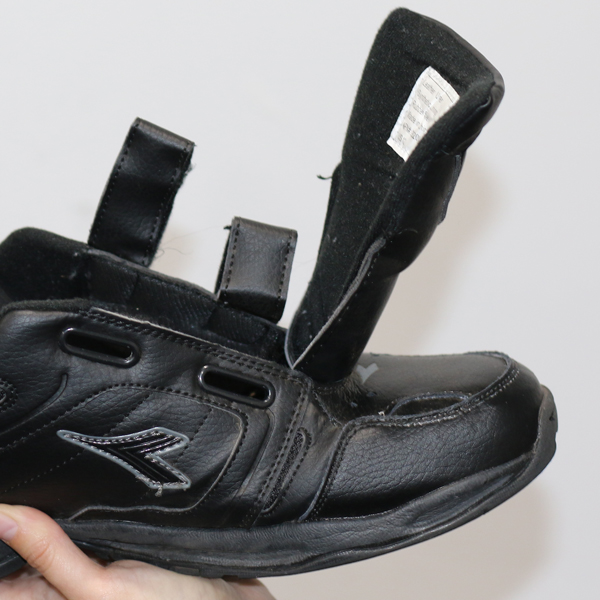
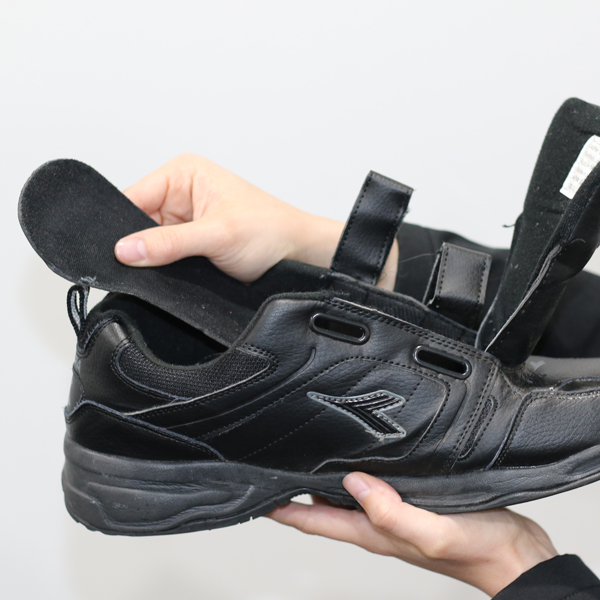
Carbon Fibre AFO and Foot Orthotic
Step 1: Can be worn with short socks or if wearing long socks, check for no wrinkles.
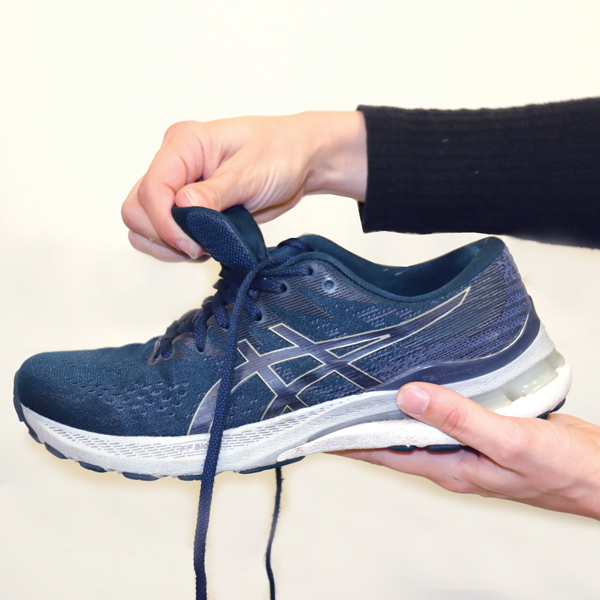
Step 2: Loosen laces. Remove inner liner from shoes.
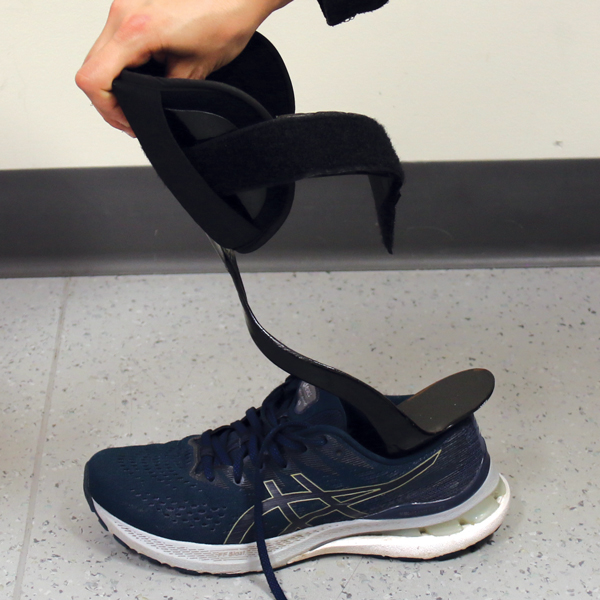
Step 3: Slide Black Carbon Fibre AFO into shoe. Pull it back to make sure it is sitting at the heel.
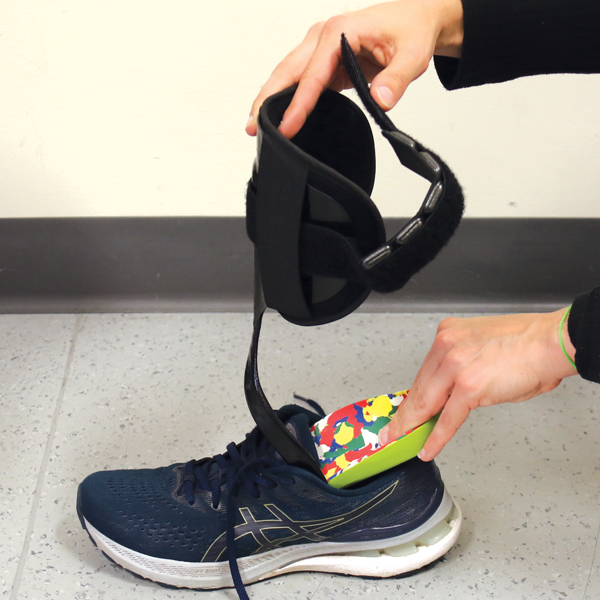
Step 4: Slide the Foot Orthotic on top of this.
Step 5: Make sure both are flat- if not start again.
Step 6: Slide shoe on as normal.
Step 7: Have foot flat on the ground and leg at 90 degrees to the floor to fasten straps of the Carbon Fibre AFO.
Step 8: Fasten AFO strap around the calf then move down the leg to fasten any other straps.
Custom Foot Orthotic or UCBL
Step 1: Loosen laces or straps.
Step 2: Remove inner liner of shoe.
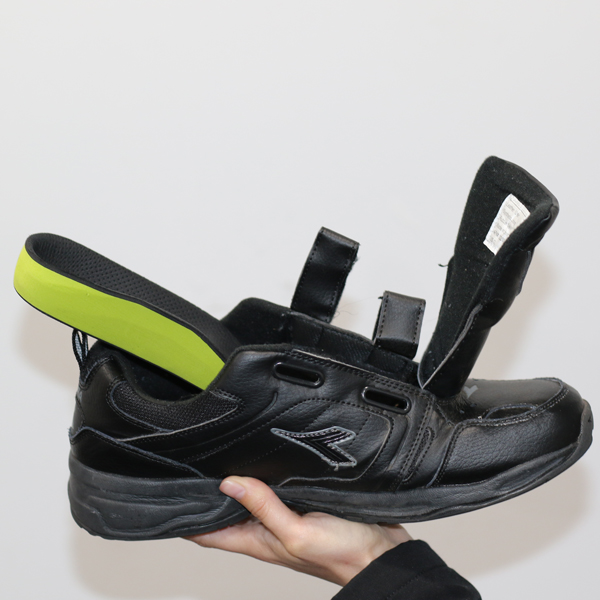
Step 3: Put UCBL (plastic) or Foot Orthotic (foam) insert into shoes.
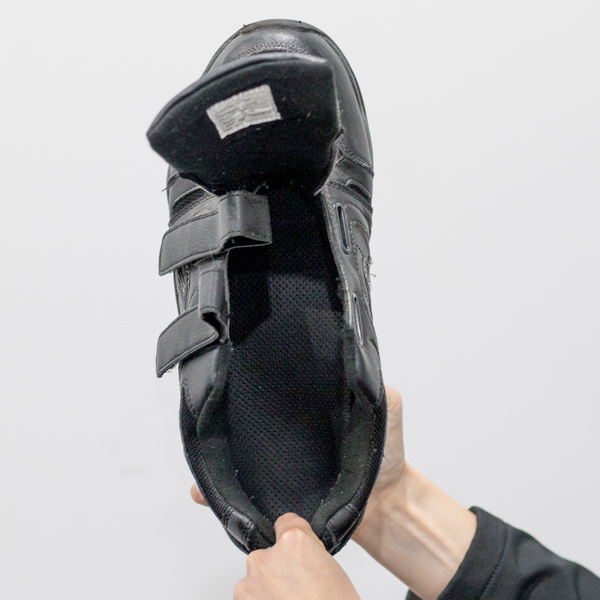
Step 4: Check it is sitting flat and not curled up.
Step 5: Slide your shoe on as normal.
Step 6: Fasten laces/straps tightly.